Members of your organization can be provided access to your FINSYNC profile. Permissions can be set for users of your company's profile related to the various FINSYNC profile modules such as Banking, Payments, Accounting, etc.
To add and manager user accounts, watch this brief video or follow the steps outlined below:
To Invite a New User:
1. Hover over the Company Profile Icon in the top right corner of the screen and select Profile Settings.

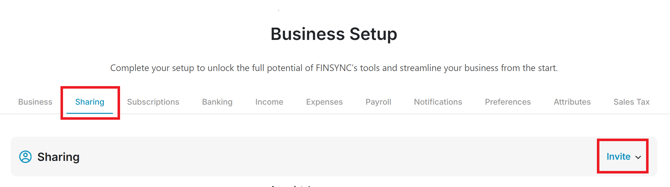
2. Select Sharing from the top menu.
3. Click Invite on the far right side.
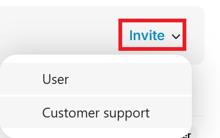
4. Select User or Customer Support from the drop down.
If you select User, you will see this screen:
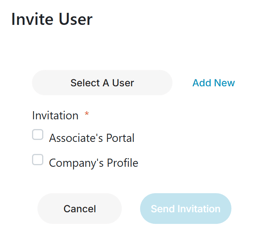
Select A User: Give access to someone who has already been added previously.
Add New: Create a profile for a new user.
Associate's Portal: Track and submit time, track and submit expenses, and view paystub.
Company's Profile: This will give access to your FINSYNC profile. You can select permissions to give this user specific permission to manage banking, income, expenses, and other accounting/administrative tasks.
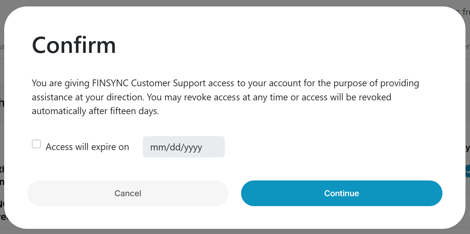
If you select Customer Support, you will see this screen:
5. Select Send Invitation at the bottom when your selections are complete. An email invitation will be sent to the user instructing them to create an account password and to sign in.

To Modify A User's Permission:
1. Follow steps 1 & 2 from above.
2. Find the user you want to make changes to and select the Edit button to the right of the user's name.
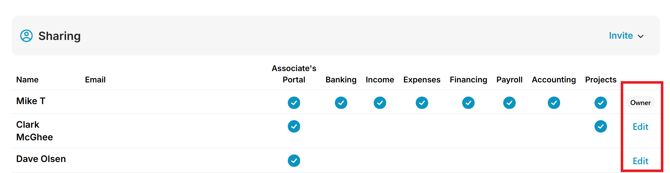
Each major area of FINSYNC has separate permission settings, allowing you to set individualized access. The button highlighted in blue is the permission you have chosen for that user.
Permission Types:
- No Access - Choose the crossed circle to block access to the selected area of FINSYNC. The user will not be able to see that tab.
- Manage - Users with Manage access can view and add/edit records. Within the Income and Expenses section, you can set special permissions.
- View - Users with View access can view most records within the section but cannot add or edit them.
- Can Edit Catalog - Check this box if you want the user to add and edit Service Items and Inventory Items.
- Can Manage Attributes - Check this box if you want the user to add and edit the list of Locations and Departments in your profile.
- Can Edit Chart of Accounts - Check this box if you want the user to add and edit your company's list of General Ledger Accounts.
3. Select Save on the far right of the users name.
Related Articles:
How to Remove Administrative Users
Adding Contacts to Customer Records
Adding Your Company Logo to Invoices
How to Add New Customer Contacts