How To Import Bank Transactions
If you choose to sync a bank account, FINSYNC will automatically import up to the last 90 days of transactional activity. In addition, FINSYNC will continue to import new transactions daily. However, if you wish to add transactions more than 90 days old, or you do not wish to sync your bank account, you can manually import your transactions.
Please Note:
It is recommended to use a CSV file for import and also recommended to use the import template available in the Import screen within FINSYNC. Follow steps 1-3 below to access the CSV import template.
The dollar amounts for transactions must have a negative in front (to the left) of the number for any transaction that deducts from the account.
1. Select Banking from the top menu. On the left menu, select the bank account or charge account you with to use for importing transactions.
2. Mouse over Bulk and select Import from the drop down. This will bring you to the Import Transactions view.
-1.png?width=448&height=190&name=Screenshot%20(8)-1.png)
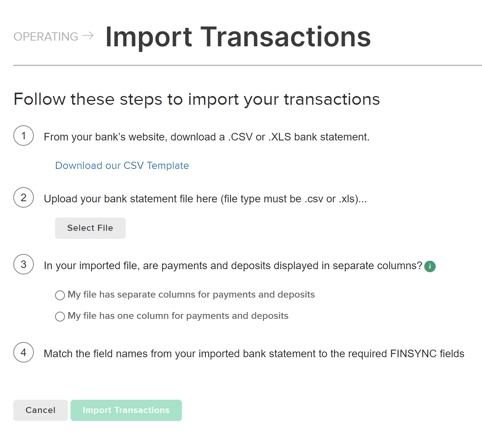
3. Follow the steps starting with downloading your transactions from your bank's website. You will see in step #1 we have provided a template for you to use to transfer the data you download from your bank into the spreadsheet. The CSV template outlines the 4 fields you will fill in with your transaction information.

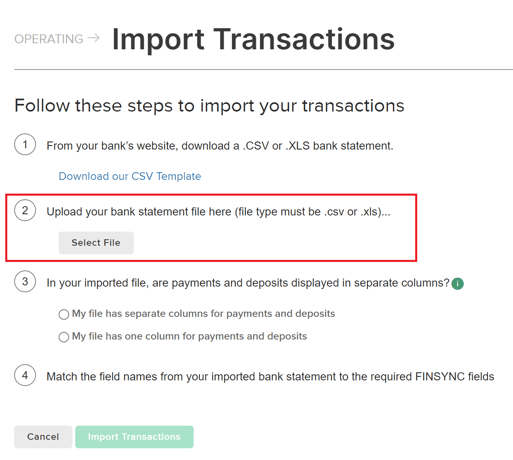
4. Once you have finished adding all of your transaction details to the template, choose Select File in step #2 to search for your CSV or Excel file from your computer.

5. In Step 3, select whether your file has separate columns for payments and deposits or if they are combined in one column (as positive and negative numbers). Negative numbers must be displayed with a negative sign to the left of the number.
6. In Step 4, select each of the field names in FINSYNC that match the fields in your source file. For example, your source file may have a field called Category, which would be matched to the Account field in FINSYNC. This must match to the specific Chart of Account entries within FINSYNC. If you are not sure of the values, this should not be mapped and imported and these values can be updated directly within FINSYNC after the import.
7. Select Import Transactions. You will be notified of any issues with the data in your file, such as improperly formatted dates or empty fields.
It may take some time to complete the import and this will depend on the number of transactions. A status message will appears when the import is complete.
Look for these issues in your source file that can cause the import to fail:
- Your "Amount" column(s) includes values of zero (0.00) or no value.
- Your "Amount" column(s) includes non-numeric values.
- A column from your file is matched with the wrong FINSYNC value. For example, your "Amount" column is matched with the "Account" value.
Related Articles:
What Happens When Bank Transactions are Imported?
How To Split Bank Transactions
Applying Bank Transactions to Payables/Receivables
Categorizing Bank Transactions with Chart of Accounts