The Bill Pay Administrator (likely the owner of the business account) has the ability to either approve or deny expense claims submitted for reimbursement by their associates.
Note: The easiest way for an Associate to submit a claim for reimbursement is through the Mobile version of the FINSYNC platform (App).
App can be accessed Here:
To Process (Approve or Reject) expense claims from your associates, follow the steps outlined below:
1. Click Payments located in the top menu.
2. Click the box with the check mark from the menu on the left.
.png?width=688&height=203&name=Screenshot%20(71).png)
3. On the right side you can click to view your Summary, Invoices, Bills and Expense Claims.
Note: If you cannot locate the claim, ensure that the Associate properly submitted the claim.

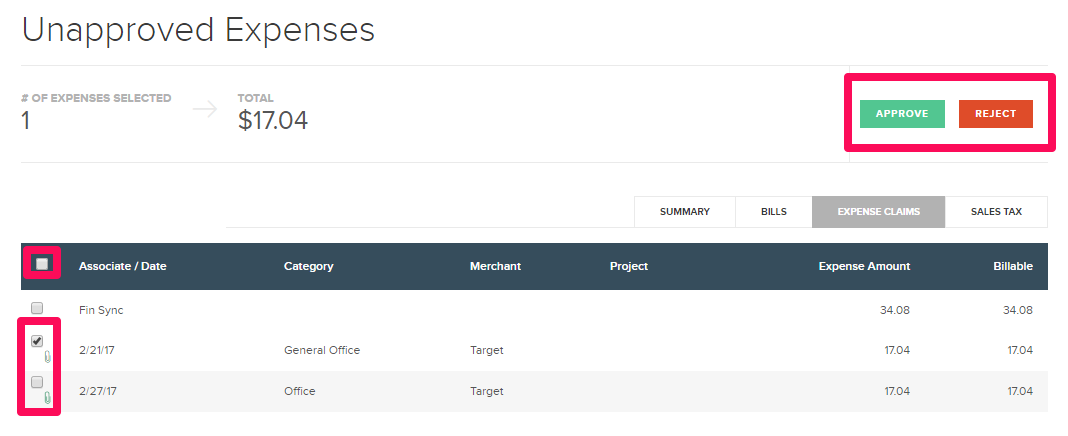
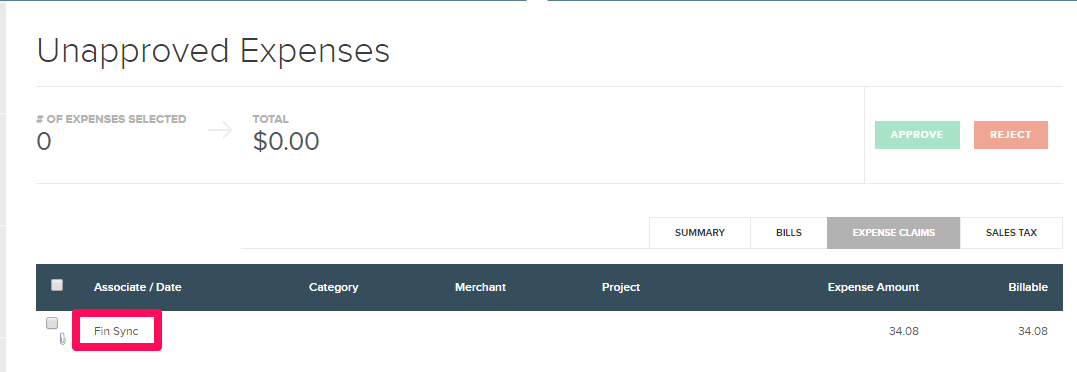
4. Click the row of the team member (associate) whose expense claim(s) you would like to review.
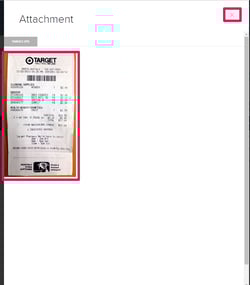
5. Optionally click on the Paperclip Icon on the row of the transaction you are reviewing see the image file (receipt) if your associate uploaded one.
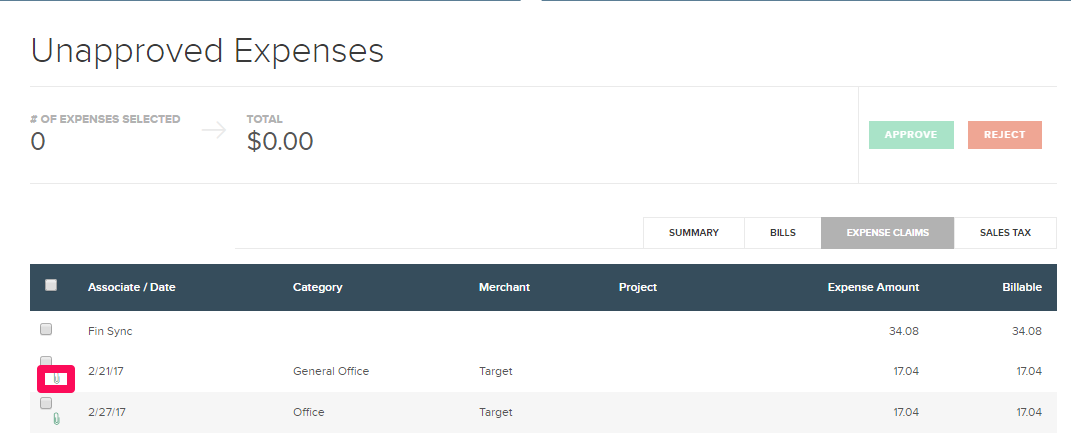
6. Review the image file and close the viewer by clicking the "X" in the top right.
7. Check the box for one or multiple transactions to be approved and click the APPROVE button.
Note: Each APPROVED expense claim becomes a bill that can be paid to the team member through the bill pay tab.
8. Check the box for one or multiple transactions to be rejected and click the REJECT button.
Note: Each REJECTED expense claim disappears from the bill pay unapproved tab and updates the team member, who can make changes and re-submit if desired (submit a new expense claim).