To begin setting up your Vendor accounts follow the steps outlined below:
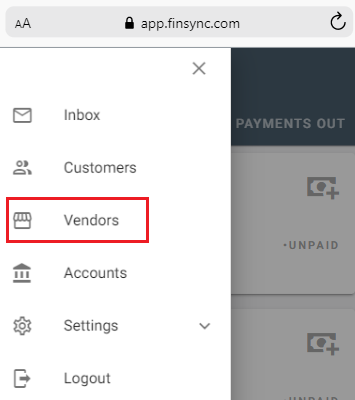
1. Click on the collapsible menu in the top left corner of your screen.

2. Select Vendors.
3. Click on the green + Icon in the bottom right corner of the screen.

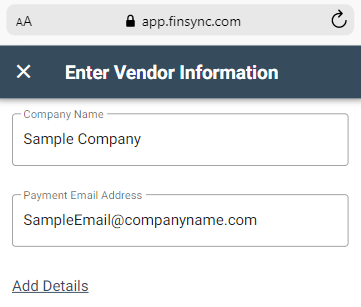
4. Fill out the required fields of the Company Name and the Email Address that payment will be sent to.
If they select ACH, they will be prompted to enter their banking information and FINSYNC will generate the transfer by pulling funds from your account that you designated as the Default Account to pay bills. The funds will then be transferred to the account based on the information the vendor entered. FINSYNC will mark the bill as paid and match with the transaction.
When the vendor selects Physical Check, the vendor will enter in the mailing address they desire for the check to be sent to. FINSYNC will then cut a check on your behalf (pulling funds from the Default Account designated to pay bills) and mail via USPS to the provided address. FINSYNC will mark the bill as paid and match with the transaction.
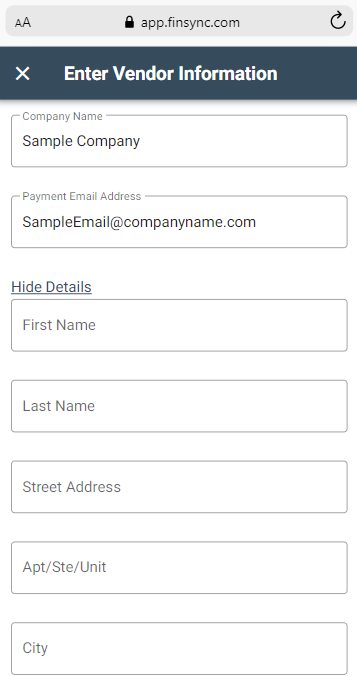
5. Clicking on Add Details will expand the optional information fields of a Vendor profile:
- Contact Name.
- Mailing Address.
- Phone Number(s).
- Category Type that will correspond with your General Ledger.
6. Click on the green Save button.