In order to begin adding expenses and bills to a project, follow the steps outlined below:
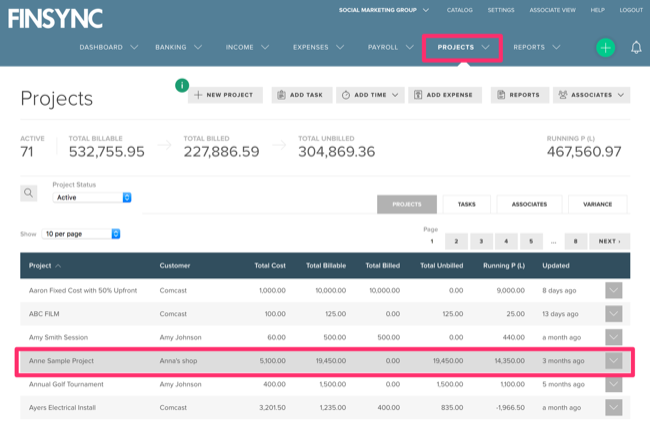
1. Click on the Projects tab from the top menu.
2. Select the project to which the expense belongs from the projects table by clicking on the specific row.
3. Click the Expenses tab (this will display any currently linked expenses to the project).
4. Click New Expense to create a new expense (or bill) associated with the project.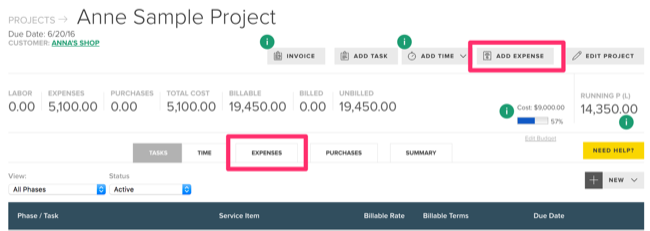
5. Complete the New Expense form.
Note: You can create a bill by marking the box and selecting a payee.
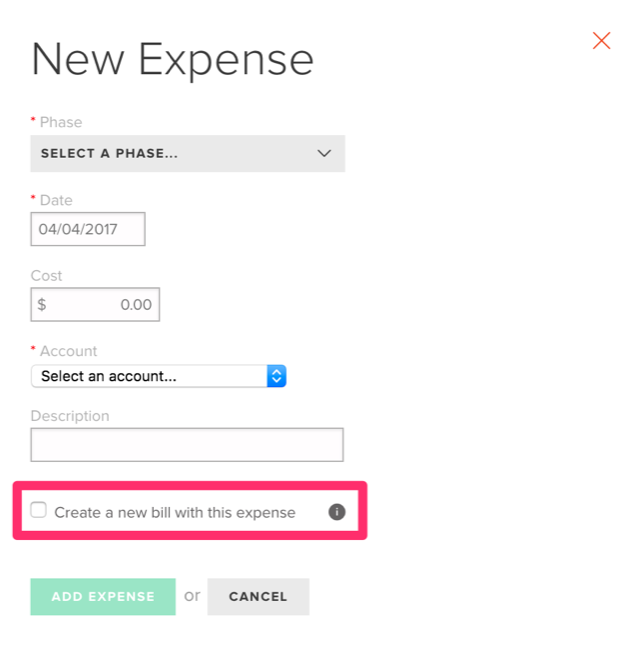
6. Click Add Expense.
Linking an Existing Bill to a Project:
In order to link an existing bill to a project, follow the steps outlined below:
1. Mouse over the Payments tab in the top menu and select Expenses.
2. Click on Bills in the left-hand menu.
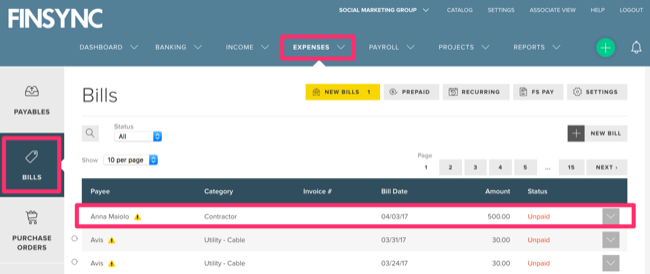
3. Select the specific bill you want to link to a project by clicking on the respective row.
4. Click Edit Bill at the bottom.

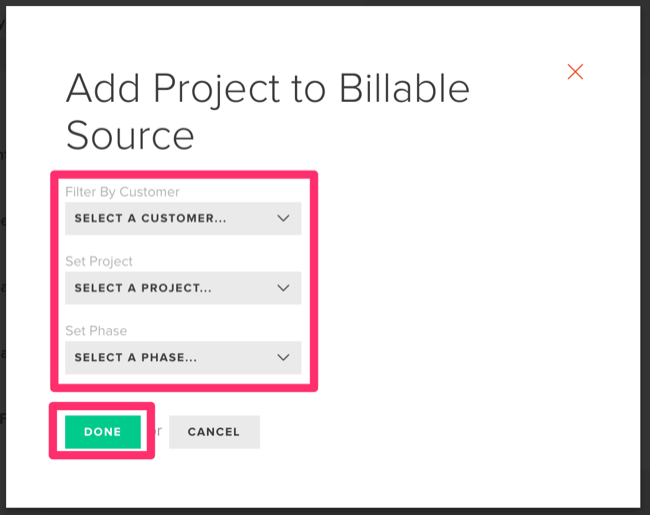
5. Click Select Project to link this bill to an existing project.
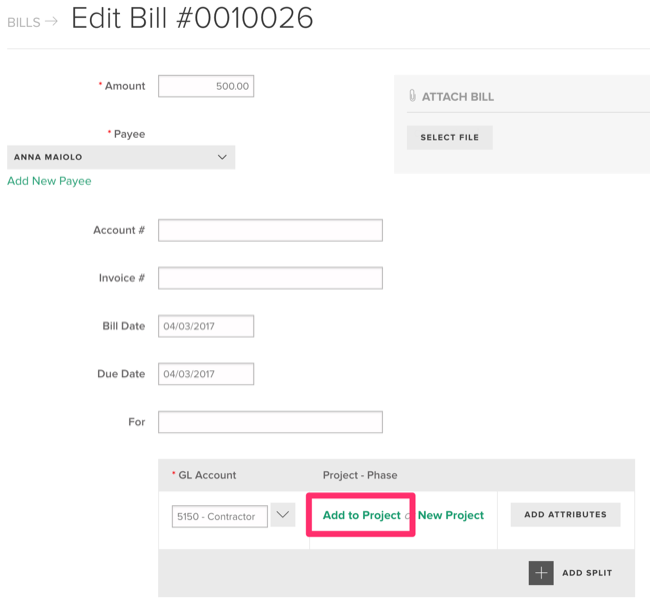
6. Complete the form and click Done.